
Technical Tip
To enable Quick Cash Sales in MDS, the DefaultCashDebtor setting must be added to your user profile or the Registry. For more information, refer to the Invoices / Backorders settings under "Distribution".
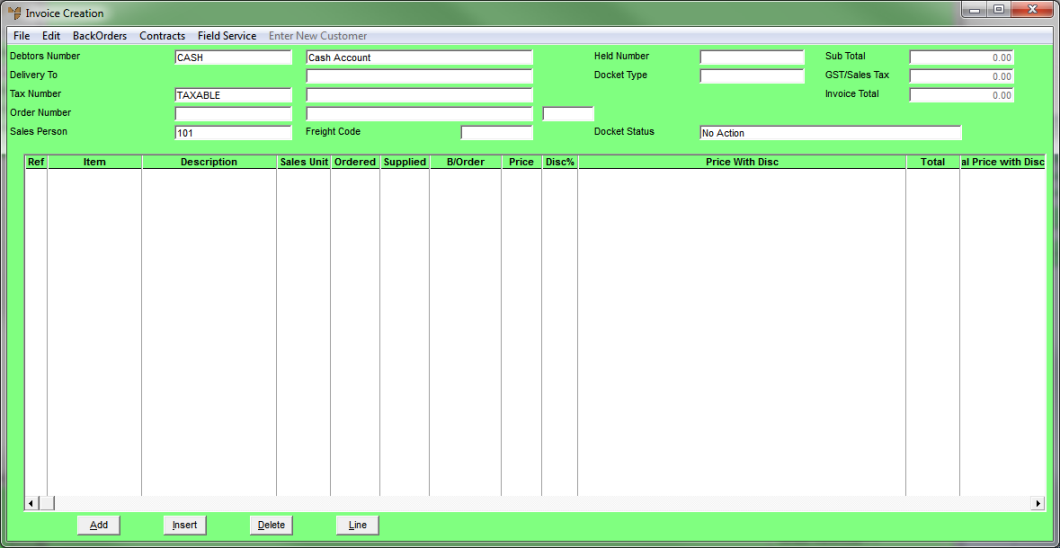
If the Quick Cash Sales option is enabled in your system, you can process invoices over the counter using a cutdown version of the Invoice Creation process which provides faster data entry.
|
|
|
Technical Tip To enable Quick Cash Sales in MDS, the DefaultCashDebtor setting must be added to your user profile or the Registry. For more information, refer to the Invoices / Backorders settings under "Distribution". |
To process quick cash sales:
Micronet displays the Invoice Header screen over the top of the Invoice Creation screen. The Debtors Number automatically displays the default debtor for cash sales (as set in your profile/Registry setting).
If your user ID has a Salespersons Number set on the User File Update screen - Mobile Security tab, that salesperson defaults in the Sales Person field (refer to "SalesForce (v2.8)"). If no default salesperson is set on the user ID, the Sales Person defaults to the salesperson set on the selected cash debtor (if any).
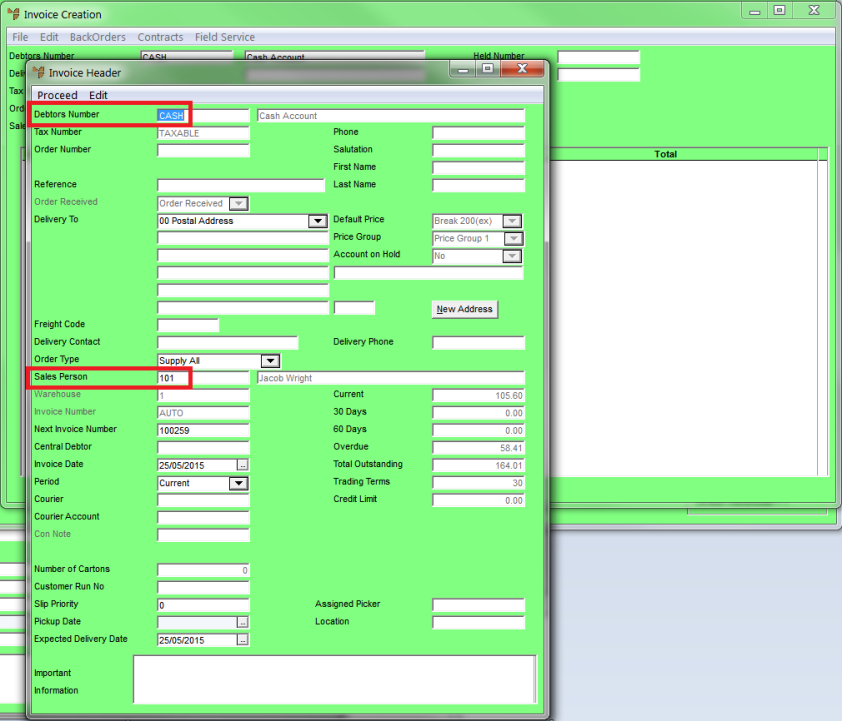
Refer to "Maintaining the Invoice Header (v2.8)".
Micronet displays the Enter Invoice Line screen.
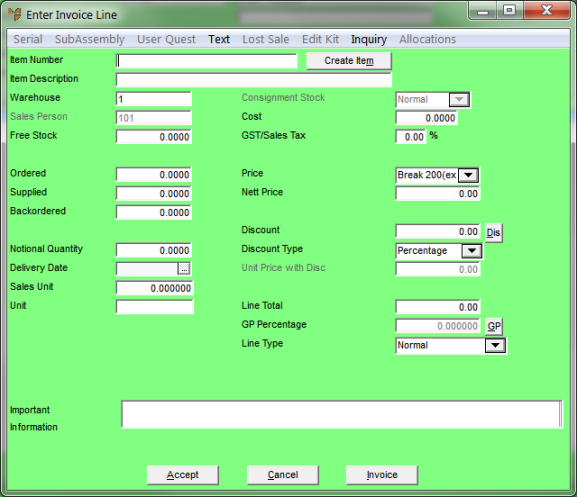
Refer to "Entering Invoice Lines - Standard".
Micronet redisplays the Enter Invoice Line screen so you can add more items to the invoice.
|
|
|
Technical Tip If you select the Accept button instead of Invoice, you can't go back into the line and select Invoice because that button is greyed. Instead you need to select FILE | PRINT INVOICE from the Invoice Creation screen – refer to "Invoice Creation - File - Print Invoice". |
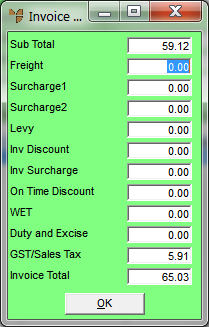
Micronet displays the Invoice Total screen.
Refer to "Invoice Creation - File - Print Invoice".
Micronet displays the Payment screen.
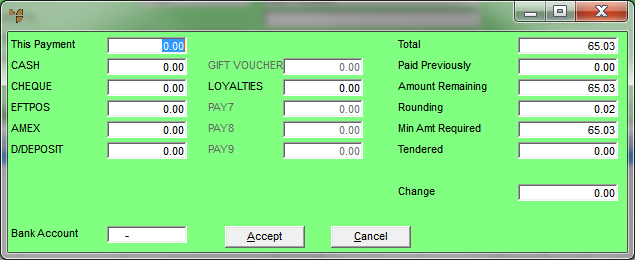
For more information, refer to "Processing Cash Payments".
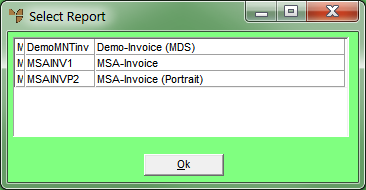
Micronet processes the sale, then displays the Select Report screen.
Micronet displays the Select Output Device screen.
|
|

|
Reference For more details on these options, refer to "Selecting the Output for Inquiries and Reports". |
Micronet prints the invoice (if selected) and redisplays the Invoice Creation screen.